Growing butternut squash from seeds is one of the most rewarding experiences for home gardeners. I remember the first time I planted butternut squash seeds with my grandmother in Vermont—she taught me how to prepare seeds properly, water just enough, and give the plants plenty of space to thrive. Now living in Dubai, I still use those same techniques, and every season, my garden rewards me with beautiful, rich butternut squash. In this article, I’ll share the complete process of butternut squash seeds planting, from preparation to harvesting, ensuring you get healthy plants and a generous yield.
Table of Contents
Table of Contents
Understanding Butternut Squash Seeds Planting Basics
Choosing and Preparing Seeds
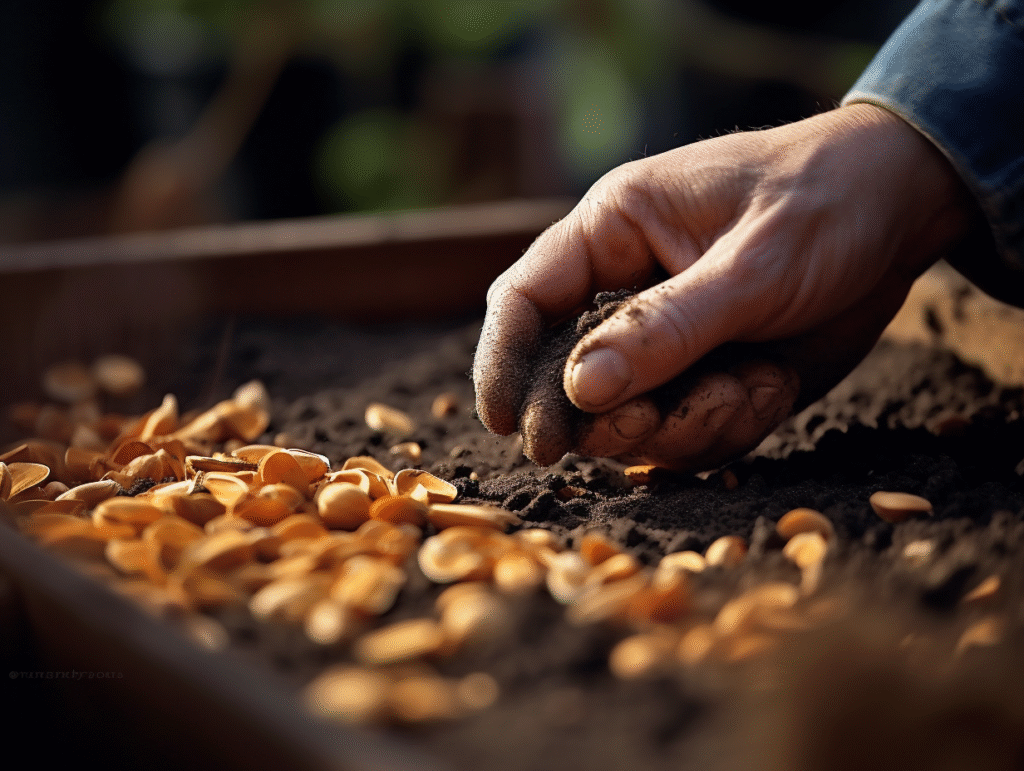
When it comes to butternut squash seeds planting, selecting high-quality seeds is crucial. Always choose seeds from reputable suppliers or save them from healthy, mature squash. Preparing seeds involves cleaning them thoroughly, drying them for a few days, and storing them in a cool, dry place until you’re ready to plant. Before planting, soak the seeds in warm water for 8–12 hours to speed up germination. This simple step softens the outer shell and encourages faster sprouting.

Ideal Growing Conditions
Butternut squash thrives in warm, sunny conditions. The soil temperature should be at least 60°F for successful butternut squash seeds planting. Choose a spot that receives 6–8 hours of direct sunlight daily. The soil should be slightly acidic to neutral (pH 6.0–7.0) and enriched with compost. Space is also essential since vines spread widely; plant them where they won’t crowd other crops.
Best Techniques for Butternut Squash Seeds Planting
How to Plant Butternut Squash Seeds Correctly
Proper planting methods ensure strong, healthy vines. When doing butternut squash seeds planting, sow seeds about 1 inch deep in well-prepared soil. Place 2–3 seeds per hole, spaced 3–4 feet apart to give vines room to spread. Keep the soil consistently moist but not waterlogged, as overwatering can cause seeds to rot. After seedlings emerge, thin to one strong plant per hill, allowing it to absorb maximum nutrients.
Direction of Seeds and Early Care
Many gardeners wonder whether to plant squash seeds point up or down. The truth is, seeds naturally orient themselves as they sprout, but placing the pointed end down can help roots establish faster. During the first two weeks after butternut squash seeds planting, keep the soil evenly moist and protect seedlings from pests. Mulching around the base helps retain moisture and keeps weeds from stealing nutrients.
Companion Planting and Avoiding Common Mistakes
What Not to Plant Next to Butternut Squash
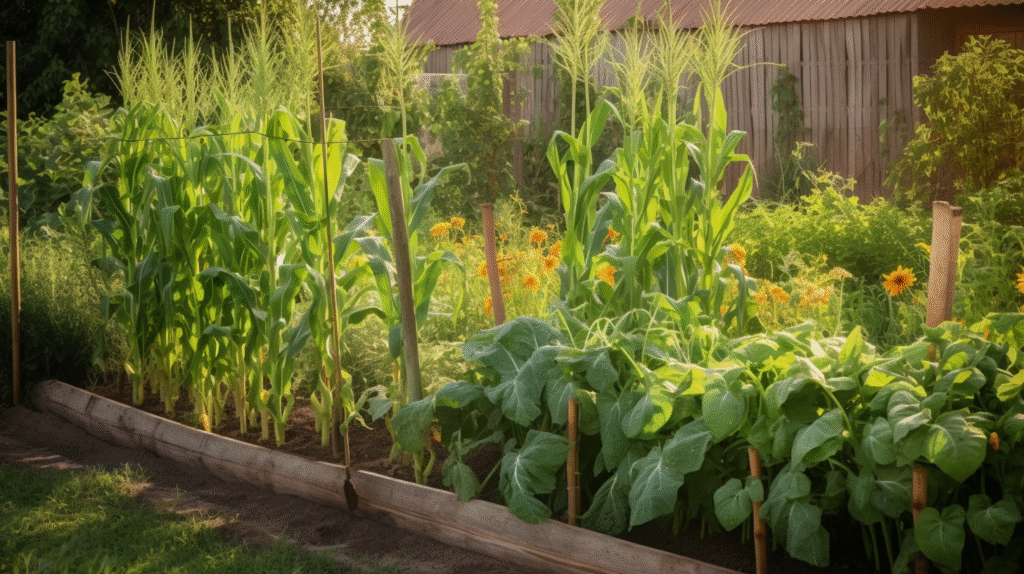
When planning your butternut squash seeds planting, knowing what crops to avoid nearby is crucial. Butternut squash is a heavy feeder and spreads widely, competing for nutrients. Avoid planting potatoes, cucumbers, and melons next to your squash; they attract similar pests and can lead to overcrowding and disease spread. Instead, pair your squash with beans or corn, which can enrich the soil and help maximize growth.
Common Planting Errors and How to Prevent Them
Overcrowding, poor soil preparation, and irregular watering are frequent mistakes beginners make with butternut squash seeds planting. Overcrowding limits air circulation, causing mildew issues. Skipping soil testing can result in poor nutrient levels, stunting growth. And irregular watering stresses plants, leading to low yields. Always prepare your soil thoroughly, give each plant space, and water deeply once or twice a week.
Caring for Plants and Harvesting Seeds for Future Planting
Ongoing Care for Butternut Squash Plants
Proper care after butternut squash seeds planting ensures a bountiful harvest. Regular watering is vital, especially during hot, dry spells. Deep watering once or twice a week encourages strong roots, while overwatering can cause root rot. Apply mulch to retain moisture and keep the soil temperature stable. Fertilize with a balanced vegetable fertilizer every 3–4 weeks for vigorous growth and plenty of fruit development.
Harvesting and Saving Seeds for Next Season
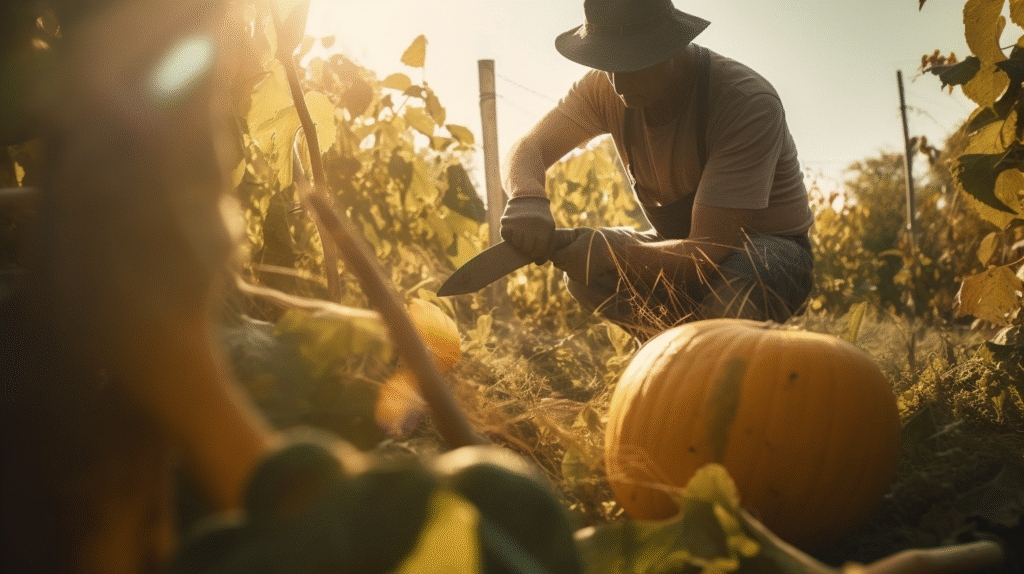
When fruits mature, their skin hardens and turns deep tan. Use sharp garden shears to cut squash from the vine, leaving a few inches of stem to prevent rot. To save seeds for next season’s butternut squash seeds planting, scoop out seeds from ripe fruits, rinse off pulp, and dry them on a paper towel for at least a week. Store in a cool, dark place in a labeled envelope or airtight jar.
Advanced Tips for High-Yield Butternut Squash Seeds Planting
Boosting Growth with Natural Fertilizers
Once your plants are established, feeding them with natural fertilizers significantly improves yield. Use compost tea or well-aged manure every three weeks to replenish nutrients in the soil. This method promotes healthier vines and larger fruit development for your butternut squash seeds planting success. Overfertilization with synthetic products can burn roots, so stick to organic options for best results.
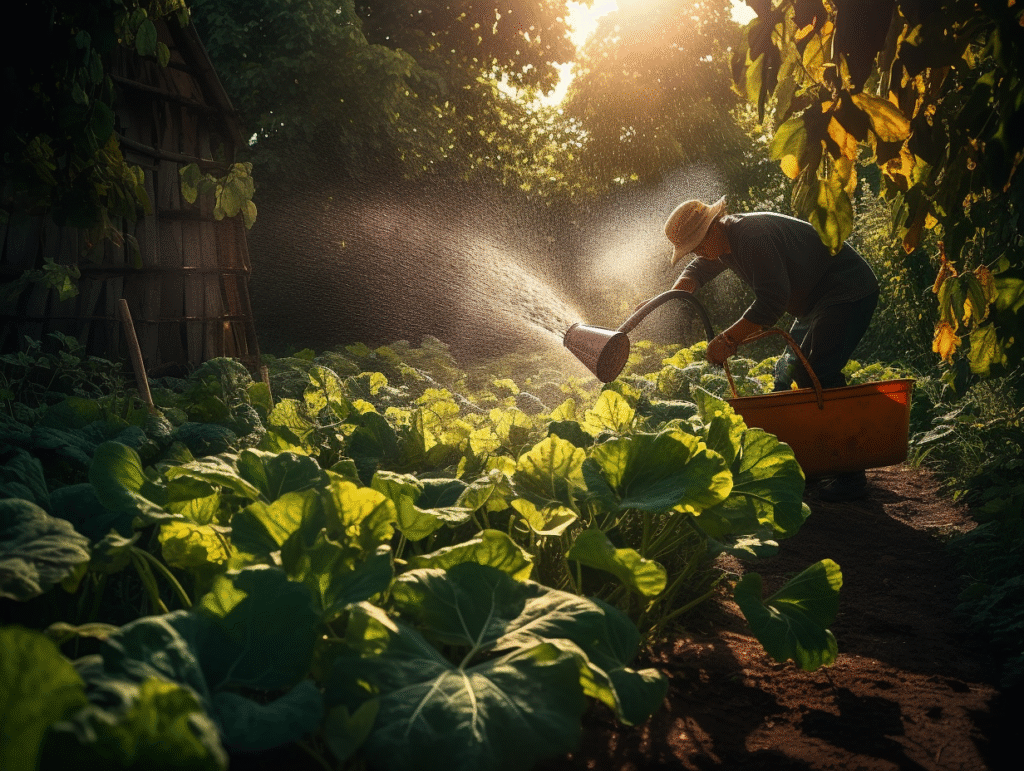
For more sustainable gardening ideas, check out squash butternut seeds where you can find additional insights on growing squash varieties successfully.
Supporting Vines and Managing Space
Butternut squash vines can overtake your garden quickly. To manage space, consider using trellises or directing vines along rows. Supporting vines not only saves ground space but also reduces the risk of fruit rot by keeping squash off the soil. Regular pruning of dead or weak vines helps direct energy to producing more fruit.
Harvesting, Storing, and Using Your Butternut Squash
Proper Harvesting Techniques
Your butternut squash is ready to harvest when its skin is hard, tan, and resists puncture with a fingernail. Cut squash with a sharp knife, leaving a few inches of stem to prevent decay. Harvest before the first frost for best quality. Correct harvesting ensures long storage life and preserves seed viability for next season’s butternut squash seeds planting.
Storing Squash and Preparing Seeds
After harvesting, cure squash in a warm, dry place for 10–14 days. Store in a cool, dark, and well-ventilated area, where it can last for months. For seeds, rinse thoroughly, dry completely, and store them in airtight containers labeled for the next planting season. This cycle makes your gardening self-sustaining, saving money on buying new seeds each year.

Troubleshooting Common Butternut Squash Planting Problems
Identifying Pests and Diseases
Even with the best care, butternut squash seeds planting may face challenges like pests and diseases. Common invaders include squash bugs, aphids, and vine borers, which damage leaves and stunt growth. Powdery mildew is another frequent issue, appearing as white spots on foliage. Regularly inspect plants and use organic insecticidal soap or neem oil for treatment.
Solving Growth and Yield Issues
Sometimes, plants fail to thrive even when properly planted. This often happens due to nutrient deficiencies, inadequate pollination, or poor watering practices. If flowers drop without producing fruit, hand-pollinate using a small brush to transfer pollen between blossoms. Apply compost tea if leaves turn yellow, indicating low nitrogen. Consistent watering prevents root stress, improving fruit set and overall yield.
FAQs: butternut squash seeds planting
How do you prepare butternut squash seeds for planting?
Clean seeds thoroughly, dry them for a few days, and soak them overnight before sowing to speed up germination.
What not to plant next to butternut squash?
Avoid planting potatoes, cucumbers, and melons as they compete for nutrients and attract similar pests.
Do you plant squash seeds point up or down?
Place the pointed end down to help roots establish faster, though seeds will naturally orient themselves as they sprout.
How many squash seeds per hole?
Plant 2–3 seeds per hole, then thin seedlings to one strong plant once they sprout.
Conclusion
Butternut squash is a rewarding crop for both beginners and seasoned gardeners. With proper butternut squash seeds planting, attention to soil preparation, correct spacing, and ongoing care, you can enjoy a plentiful harvest season after season. Saving your own seeds adds to the satisfaction, ensuring future plantings with minimal cost. By following these steps and keeping companion planting in mind, you’ll set yourself up for thriving plants and delicious homegrown squash.
Loved this article? Come join me behind the scenes! I share even more baking tips, recipe previews, and healthy kitchen rituals on my social channels.
👉 Follow me on Facebook for daily kitchen tips and new recipe ideas.
👉 Pin with me on Pinterest and save your favorite wellness treats for later.

